Getting Started
This guide will help you get started with the iFlow platform.
Overview
Flow is organized around organizations and projects:
- Organizations - Groups of users (e.g., research labs, departments)
- Projects - Workspaces for files and workflows within an organization
You can use Flow through the web interface or the command-line tool (CLI).
Web Interface
Step 1: Log In
- Navigate to the Admin Console: admin.flow.labpgx.com
- Click Login to authenticate with your credentials
- If you don't have an account, contact your organization administrator
Step 2: Select Your Organization
After logging in, you'll see your available organizations.

Click on an organization to select it as your current context.
Step 3: Select a Project
Once an organization is selected, you'll see its projects.

Click on a project to set it as your current working context.
Step 4: Browse Files
With a project selected, navigate to the File Browser to access your data:
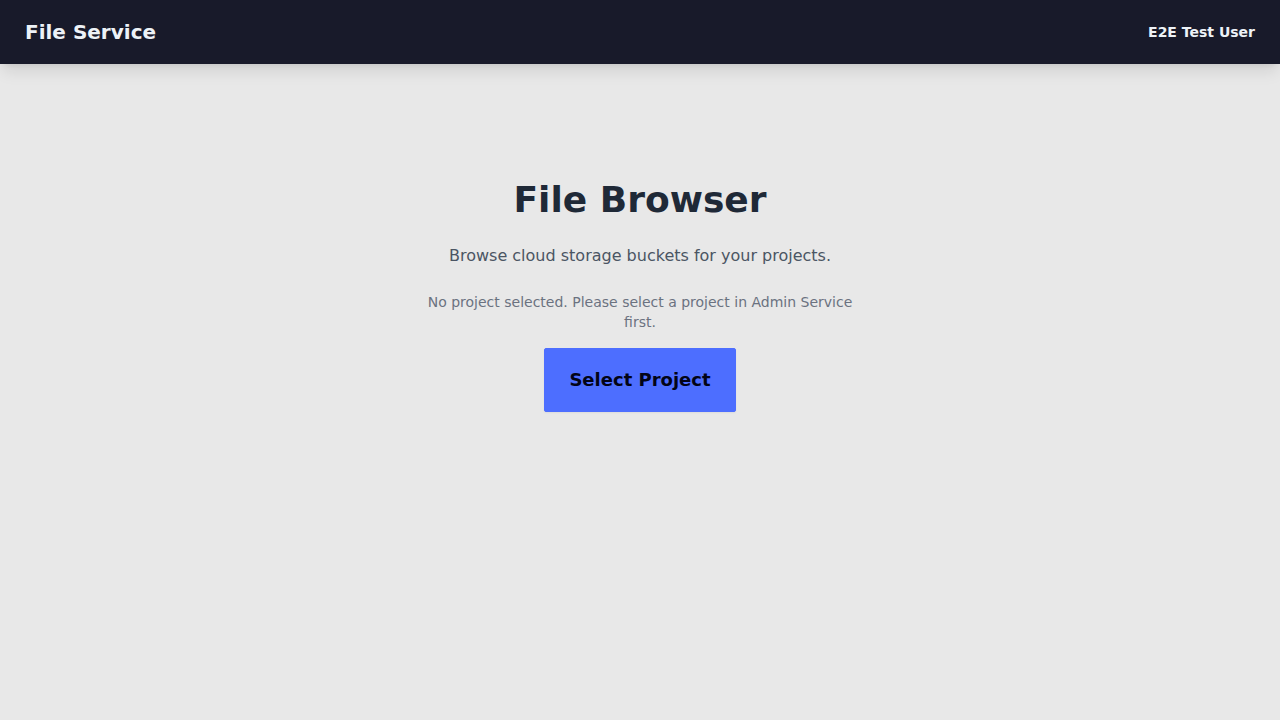
Here you can:
- Browse cloud storage (GCS or S3)
- Download files
- Navigate folder hierarchies
Step 5: Run a Workflow
Navigate to the Compute service to run bioinformatics pipelines:

Command Line Interface
The CLI provides powerful command-line access to all Flow features.
Step 1: Install
Step 2: Authenticate
Get a Personal Access Token (PAT) from the Admin Console under Settings > CLI Tokens.
Verify your login:
Step 3: Select Project
Select a default project for all commands:
This shows an interactive menu:
Available Projects

Intelliseq
  [1] Demo Project
  [2] Clinical Lab

Partner Org
  [3] Research Project

Enter project number (or 'q' to cancel): 1

Selected project: Demo Project
  Organization: Intelliseq
  Project ID: abc123-def456-...
Step 4: Browse Files
# List files in project root
iflow files ls

# List files in subdirectory
iflow files ls data/samples

# Download a file
iflow files download data/sample.vcf

# Upload a file
iflow files upload local_file.vcf data/remote_file.vcf
Step 5: Run a Workflow
# List available pipelines
iflow pipelines list

# Submit a pipeline analysis (paths are relative to project bucket)
iflow analyses submit --pipeline hereditary-mock \
  -P case_id=case-001 \
  -P child_fastq=data/R1.fastq.gz \
  -P child_fastq=data/R2.fastq.gz \
  --watch

# List analyses
iflow analyses list

# Check analysis status
iflow analyses status ANALYSIS_ID
Step 6: Manage Orders (Clinical Workflows)
# Create a clinical order
iflow orders create -n "Patient Case 001" \
  --priority urgent \
  --indication "Family history of cancer"

# List orders
iflow orders list

# Associate an analysis with an order
iflow analyses submit --pipeline hereditary-mock \
  --order-id ORDER_ID \
  -P case_id=case-001 \
  --watch
Next Steps
- Prerequisites - System requirements and setup
- First Workflow - Run your first pipeline
- Admin Console Guide - Manage organizations and projects
- CLI Commands - Full CLI reference